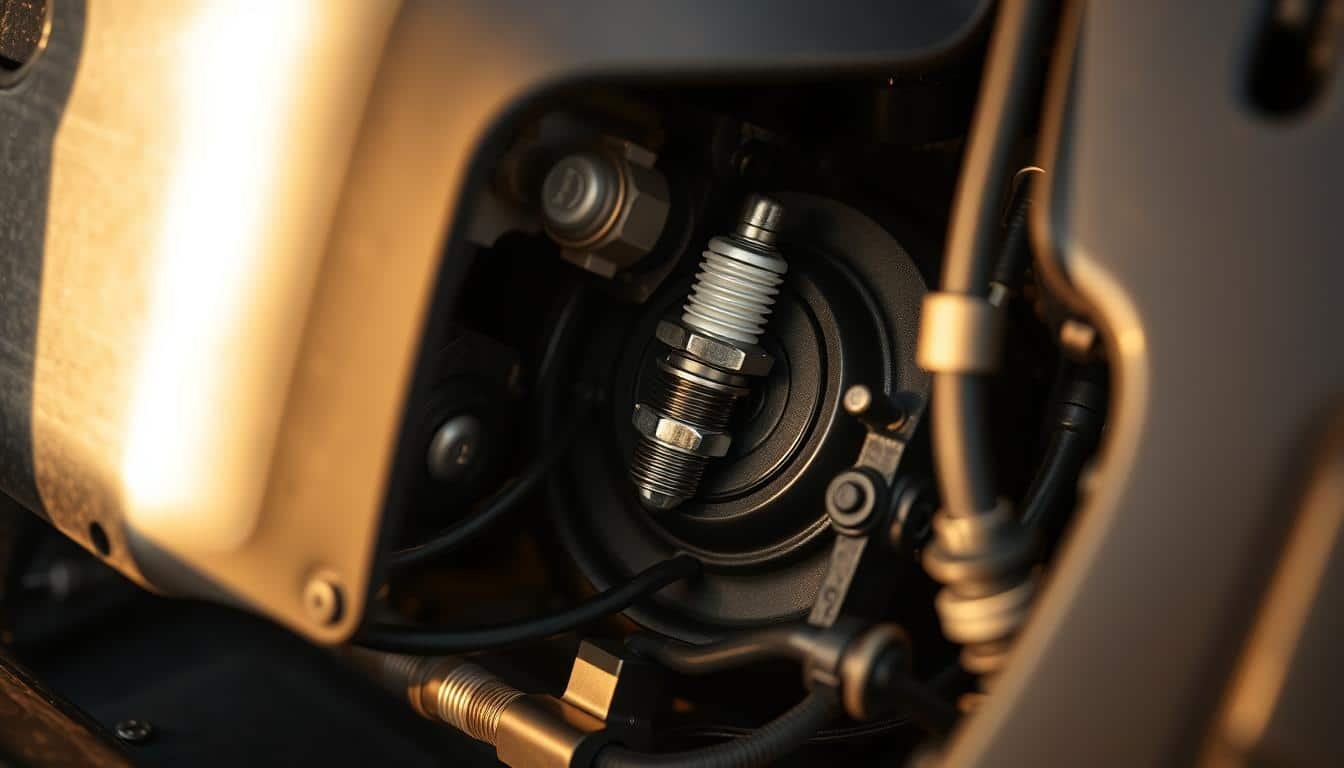
Have you ever wondered what single, small part is most critical for getting your yard equipment to start on the first pull? This tiny component is the heart of your machine’s ignition system.
Knowing the exact position of your spark plug is the first step toward confident DIY upkeep. This knowledge empowers you to perform essential checks and replacements yourself. You save both time and money.
While models differ, the general area is consistent. This guide will show you the common patterns. You will learn to locate, inspect, and change this part with ease.
Regular attention to this component is a fundamental part of equipment care. It directly affects starting reliability and overall engine performance. This simple task typically takes less than 30 minutes and requires only basic tools.
Key Takeaways
- The spark plug is a vital part of your lawn mower’s ignition system.
- Finding its location is the first step for effective DIY maintenance.
- Regular inspection and replacement improve starting reliability.
- This task is manageable for most homeowners with basic tools.
- Understanding its position helps you avoid costly professional repairs.
- Most mowers follow a similar pattern for spark plug placement.
Understanding the Role of the Spark Plug in Your Lawn Mower
Think of the small ignition component as the match that lights the fire for your entire cutting machine. It creates the electrical arc needed to ignite the mix of fuel and air inside the engine’s chamber. This single action is what powers every cycle of your equipment.
Why Spark Plugs Are Essential for Engine Performance
A well-functioning part ensures a strong, consistent ignition. This leads to reliable starting, smooth operation, and better fuel use. It provides the optimal power output needed for efficient grass cutting.
Manufacturers often suggest a replacement every 100 hours of use or each season. This routine care prevents many common starting and performance issues.
Common Signs of a Worn or Faulty Spark Plug
You might notice your equipment is hard to start. It may run roughly, misfire, or lack power in thick grass. Increased fuel consumption is another key indicator.
The condition of an old component can reveal underlying issues. Use this table to understand what different appearances mean:
| Plug Appearance | Likely Cause | Potential Issue |
|---|---|---|
| Black, Sooty Coating | Too much fuel burning | Dirty air filter or carburetor problem |
| White, Chalky Deposits | Engine running too hot | Cooling system or fuel mixture issue |
| Oily Film | Oil leakage into chamber | Worn piston rings or valve seals |
| Worn/Damaged Electrode | Normal end of life | Part has exceeded its service life |
Recognizing these signs early helps you fix small problems before they become major engine failures. The state of this part is a direct window into your machine’s health.
Where is Spark Plug on Lawn Mower: Locating It Easily
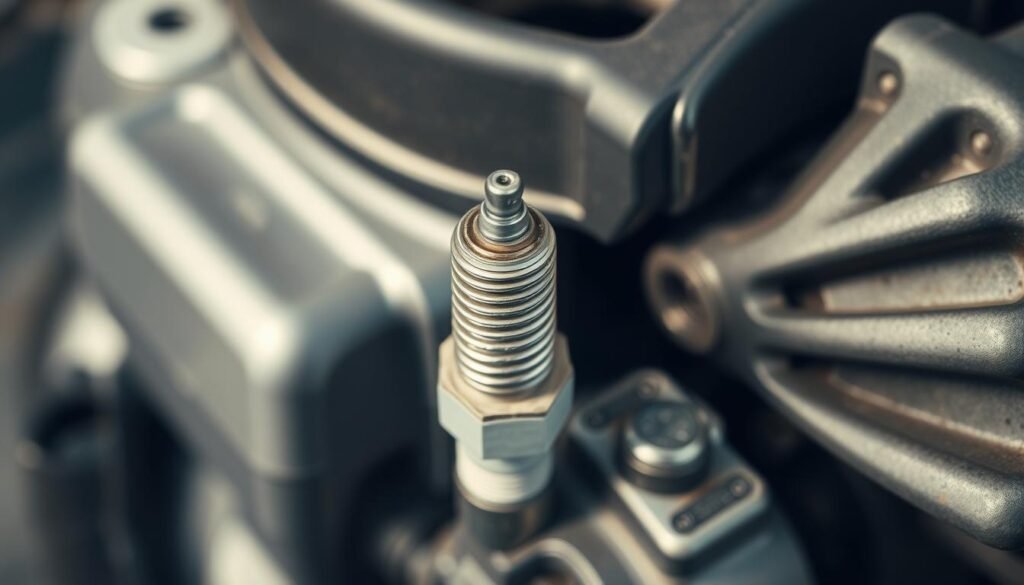
Your equipment’s ignition system has a consistent design pattern across most brands. The thick rubber wire connecting to the top serves as your primary visual clue. This connection point leads directly to the component you need to find.
Identifying the Typical Location on Different Mower Types
Various cutting machines position this part differently. Push models typically feature it on the side or front engine area. Riding equipment often places it on the engine block beneath the hood.
Some riding units contain two ignition components instead of one. Always consult your manual for specific details about your model. This ensures you locate all necessary parts correctly.
| Mower Type | Common Location | Access Requirements |
|---|---|---|
| Push Mower | Side or front of engine | Direct access, no panels |
| Riding Mower | Engine block side | Lift hood or remove panel |
| Twin-Spark Models | Both sides of engine | May require additional access |
Tips for Safely Accessing the Spark Plug Area
Always turn off your equipment and let it cool completely before beginning. Wait at least 15-20 minutes after use to prevent burns. Safety should always come first in maintenance tasks.
Disconnect the thick rubber wire before any work begins. This prevents accidental starting that could cause injury. Clean the surrounding area with a brush or rag to keep debris out of the engine.
These simple preparations make the entire process safer and more effective. Proper access ensures you can perform maintenance without complications.
Step-by-Step Guide to Removing and Inspecting Your Spark Plug
A systematic approach ensures safe and effective maintenance on your cutting machine. This process requires patience and proper technique.
Following each step carefully prevents damage to engine components. You gain valuable insight into your equipment’s condition.
Preparing Your Lawn Mower for Maintenance
Always begin with a cool engine. Wait at least 20 minutes after use. Disconnect the thick rubber wire by grasping the boot firmly.
Twist gently if stubborn, pulling only on the boot. Never yank the wire itself. Clean the area to prevent debris entry.
Proper Tools and Techniques for Removal
You need a specific spark plug socket and matching socket wrench. Most models use 13/16-inch or 5/8-inch sizes.
Fit the plug socket snugly onto the component. Turn the wrench counterclockwise to loosen. Finish unscrewing by hand once loose.
Never force a stuck component. This protects engine threads from damage.
How to Evaluate the Condition of the Old Spark Plug
Examine the old spark plug carefully. Its appearance reveals engine health. Compare your findings to this table:
| Condition | Appearance | Action Required |
|---|---|---|
| Normal Wear | Light brown deposits | Clean with wire brush |
| Carbon Fouling | Black, sooty coating | Replace and check fuel system |
| Damaged Insulator | Cracked porcelain | Immediate replacement |
| Electrode Erosion | Rounded or burned tip | Replace and check ignition timing |
Consult your owner manual for specific guidance. Proper inspection helps you make informed maintenance decisions.
Installing a New Spark Plug: Tips to Ensure Optimal Performance
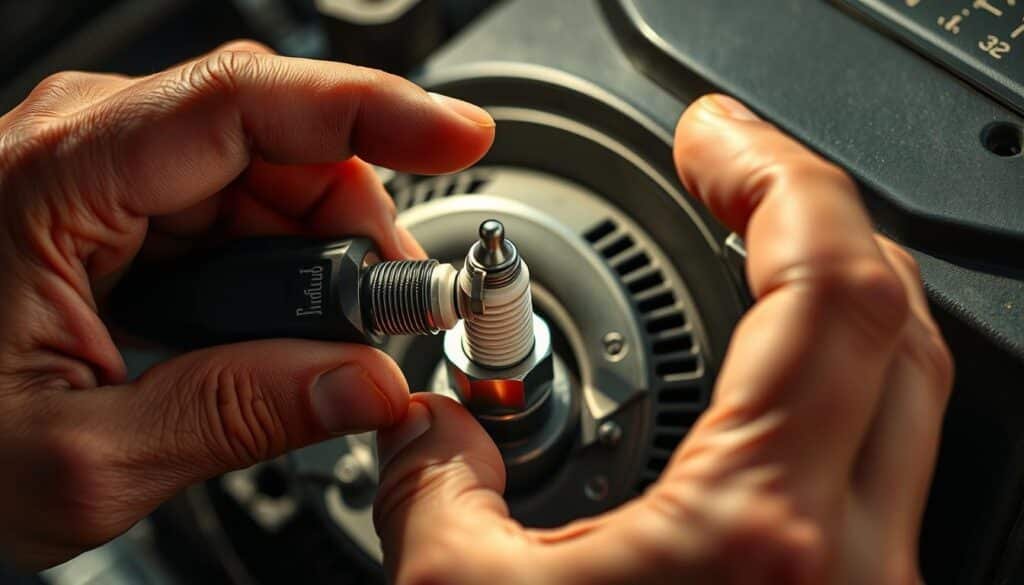
Achieving a perfect fit requires attention to two key details: the electrode gap and the tightening torque. Getting these steps right ensures your equipment runs smoothly.
This process is straightforward with the right approach. It protects your engine and maximizes performance.
Measuring and Adjusting the Spark Plug Gap
Before installing your new component, check the spark plug gap. This is the space between the center and ground electrodes.
An incorrect gap prevents a strong ignition. Use a gap gauge tool for this critical step.
Most small engines need a setting between 0.020 and 0.030 inches. Always confirm the exact specification in your owner’s manual for your specific model.
Slide the gauge between the electrodes. If it doesn’t fit or is too loose, you must adjust gap settings. Carefully bend the ground electrode with a tool until the gauge drags slightly.
Securing the Spark Plug Connection Without Over-Tightening
Thread the new spark plug into the engine by hand first. This prevents cross-threading, which can cause serious damage.
Once hand-tight, use your socket and wrench for the final turn. A quarter to a half turn is usually sufficient. Never force it.
Over-tightening can strip threads or crack the porcelain. Under-tightening may let the part come loose. Proper torque is essential when you replace these components.
Finally, push the plug wire boot on firmly until it clicks. A secure connection completes the installation.
| Installation Step | Key Action | Common Mistake to Avoid |
|---|---|---|
| Gap Adjustment | Use a gauge; bend electrode gently | Forcing the electrode and breaking it |
| Threading | Start by hand to ensure straight alignment | Using the wrench immediately, causing cross-threading |
| Tightening | Quarter to half turn after hand-tight | Over-tightening with excessive force |
| Reconnection | Push boot until click is heard | Not ensuring a secure electrical connection |
Regularly change your ignition components as part of routine maintenance. This simple step keeps your mower engine reliable for years.
Conclusion
The confidence to handle this task transforms your relationship with yard work. You now possess the knowledge to keep your equipment running reliably throughout the cutting season.
Regular attention to your spark plug—through inspection and replacement every 25 to 100 hours—ensures consistent engine performance. This simple maintenance prevents frustrating starting issues.
Whether you use push mowers or riding lawn mowers, the location follows predictable patterns. Proper care involves safe access, correct tools, and accurate gap measurement.
The condition of your plugs provides valuable diagnostic information about air filter cleanliness, oil levels, and fuel system health. This makes it a cornerstone of comprehensive equipment care.
Investing minimal time and cost in this spark plug maintenance prevents expensive repairs. It extends the life of your lawn mower while saving you money on professional services.
FAQ
What tools do I need to change the spark plug in my lawn mower?
You will typically need a spark plug socket and a ratchet wrench. The socket is designed with a rubber insert to protect the ceramic insulator. A gap tool is also essential for checking and adjusting the spark plug gap before installation.
How often should I replace the spark plug on my mower?
For optimal engine performance, it’s recommended to install a new spark plug every season or after about 25 hours of use. However, always consult your owner’s manual for specific guidance based on your model.
What is the correct gap for a lawn mower spark plug?
The correct gap varies by engine manufacturer. Common settings are between 0.028 and 0.035 inches. You must check the specification for your specific model in the manual and use a gap tool to adjust gap precisely.
Can a bad spark plug prevent my mower from starting?
A> Yes, a worn or fouled plug is a leading cause of starting problems. If the spark plugs cannot create a strong enough spark, the fuel in the combustion chamber won’t ignite. This is a key sign that maintenance is needed.
How do I safely disconnect the spark plug wire?
A> Firmly grasp the boot at the end of the plug wire and pull straight off. Never pull by the wire itself, as this can damage the internal connection. This step ensures safety by preventing accidental ignition during maintenance.
What should I look for when inspecting my old spark plug?
A> Examine the electrode for excessive wear, cracks in the ceramic, or heavy carbon deposits. The condition can indicate issues like an overly rich fuel mixture or oil entering the combustion chamber, helping you diagnose other potential engine problems.