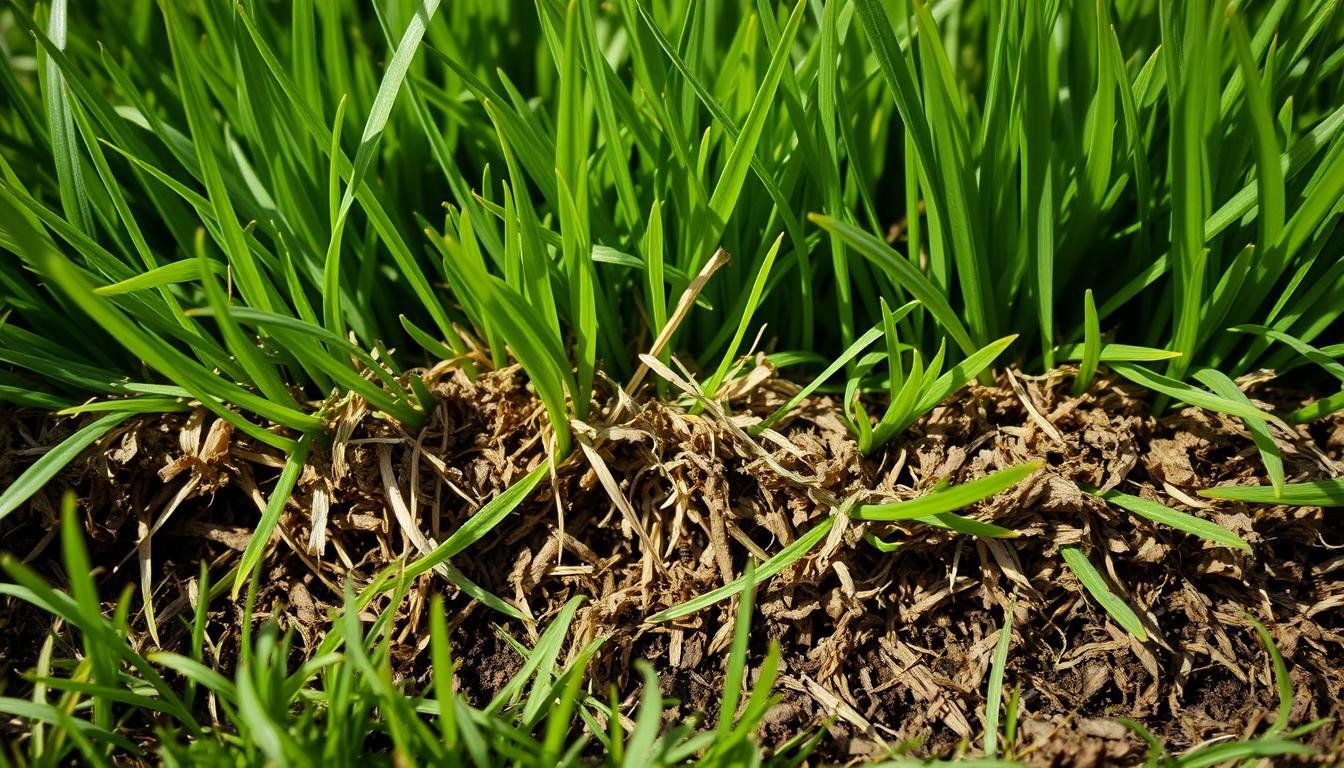
Ever feel like you’re doing everything right for your lawn—feeding it, watering it—yet it still looks thin and unhealthy? The hidden problem might be lurking just beneath the surface.
Thatch is a natural layer of dead grass shoots, stems, and roots. A healthy amount, about ¼ to ½ inch thick, actually helps your grass. It insulates soil and holds moisture.
But when thatch builds up beyond ¾ inch, it causes trouble. This thick mat blocks air, water, and nutrients from reaching the roots. Your lawn might feel spongy underfoot, a clear sign it’s time to act.
The question of preparation is crucial for the dethatching process. Getting it right affects how well your lawn recovers. This guide covers the entire process. You will learn the best preparation steps, timing for your grass type, and vital aftercare.
Following these steps will help you restore your lawn’s health. You can achieve better nutrient absorption and the lush, green lawn care results you desire.
Key Takeaways
- Thatch is a layer of organic material that can benefit or harm your lawn depending on its thickness.
- A spongy feel underfoot often indicates an excessive thatch layer that needs addressing.
- Proper preparation is essential for an effective dethatch lawn process and quick recovery.
- Understanding the correct timing and techniques is key to successful lawn care.
- Post-dethatching care strategies are critical for restoring lawn health and vibrancy.
Understanding Thatch and Dethatching
Beneath the green surface of your turf lies a complex ecosystem where organic materials accumulate and influence grass health. This natural buildup, known as thatch, consists of living and dead grass components.
What is Thatch and Its Role in Lawn Health
Thatch forms between your green grass blades and the soil surface. This layer contains shoots, stems, roots, and other organic matter.
A thin thatch layer of about ¼ to ½ inch benefits your lawn. It provides natural insulation for grass roots. The layer helps retain soil moisture during dry periods.
You can identify excessive thatch by walking on your lawn. If it feels spongy underfoot, the layer may be too thick. Another test involves pushing your finger through to the soil surface.
Why Dethatching is Essential for Nutrient Absorption
When thatch exceeds ¾ inch thick, problems begin. The dense layer blocks air, water, and nutrients from reaching grass roots. Your lawn cannot absorb fertilizers effectively.
Excess thatch creates ideal conditions for pests and disease. The dead grass material provides shelter for harmful organisms. Proper nutrient absorption becomes impossible.
| Characteristic | Healthy Thatch (¼-½ inch) | Problematic Thatch (>¾ inch) |
|---|---|---|
| Water Penetration | Easy absorption into soil | Blocked from reaching roots |
| Nutrient Access | Fertilizers reach grass roots | Nutrients trapped in thatch layer |
| Soil Aeration | Proper air circulation | Reduced oxygen to roots |
| Pest Environment | Normal conditions | Ideal breeding ground |
Measure your thatch layer by digging a small turf sample. Use a spade to extract a section and measure the dead grass above soil. If it exceeds ¾ inch, dethatching becomes necessary for lawn health.
Should I Mow Before Dethatching?
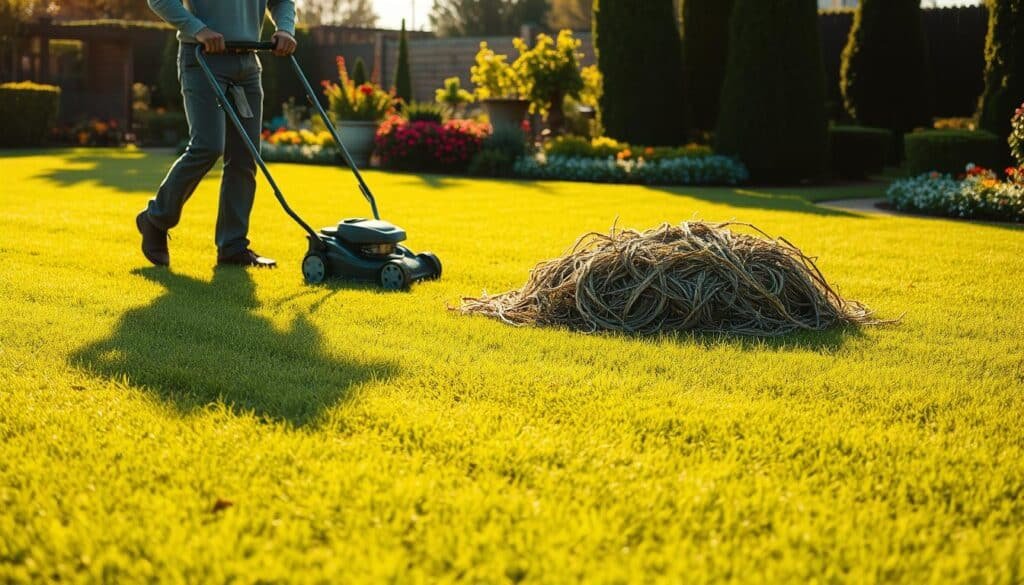
Getting your grass ready for the process requires specific cutting techniques for optimal results. Proper preparation ensures the equipment reaches the thatch layer effectively.
The Importance of Mowing to Optimize Dethatching
Cutting your turf to the correct height allows the dethatcher blades to contact the thatch directly. Tall grass blades prevent deep penetration into the problem area.
For cool-season varieties, aim for approximately 1.5 inches. Warm-season types benefit from cutting as low as ¾ inch. These heights provide ideal access to the underlying layer.
Follow the one-third rule when reducing grass length. Never remove more than one-third of the blade in a single session. This prevents excessive stress on your turf.
If your lawn normally sits at 3 inches, use a two-step approach. Cut once, then wait 4-5 days before the second reduction. This gradual method strengthens recovery ability.
| Grass Condition | Preparation Strategy | Timeline |
|---|---|---|
| Normal height (under 2 inches) | Single mowing session | Immediate preparation |
| Tall grass (over 2 inches) | Two gradual mowing sessions | 4-5 day interval |
| Cool-season varieties | Cut to 1.5 inches | Active growth period |
| Warm-season types | Reduce to ¾ inch | Peak growing season |
This preparatory step creates the foundation for successful thatch removal. Your turf will recover more vigorously with proper cutting beforehand.
Step-by-Step Guide to Dethatching Your Lawn
Proper execution of the dethatching process requires careful attention to equipment settings and technique. This systematic approach ensures effective thatch removal while protecting your grass.
Operating the Dethatcher and Adjusting Settings
Set your dethatcher based on measured thatch thickness. Use the low setting for layers around 2 inches thick. Choose medium for 1-inch layers, and high for routine maintenance.
The machine’s blades penetrate deeper with lower settings. This extracts more material from the soil surface. Higher settings remove less thatch for lighter maintenance.
Run the equipment across your lawn in horizontal patterns. Maintain steady control for complete coverage. This method ensures uniform thatch removal across the entire area.
Clearing Thatch and Managing Debris
Remove all loosened material immediately after dethatching. Use a sturdy rake or leaf blower for efficient cleanup. Leaving debris creates ideal conditions for moss and disease.
Thorough clearing allows sunlight to reach the grass. It also prevents blocked nutrient absorption. Your lawn can then begin healthy recovery and growth.
Apply a gentle starter fertilizer after cleanup. Water thoroughly to help stressed grass absorb nutrients. This supports vigorous regrowth across the entire lawn surface.
When to Dethatch and Mow: Seasonal Timing Tips
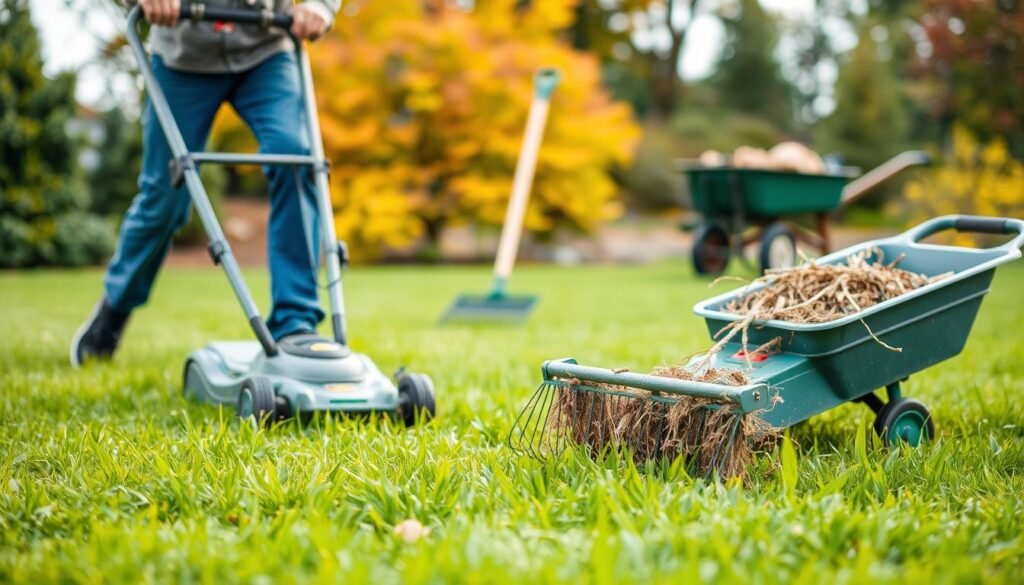
The success of your lawn rejuvenation efforts hinges on aligning dethatching with your grass type’s peak growing season. Choosing the right time of year ensures vigorous recovery and prevents bare patches.
Optimal Periods for Cool-Season and Warm-Season Grasses
Cool-season grasses like Kentucky bluegrass thrive with early spring or early fall treatment. These periods offer moderate temperatures for active growth. The best time for dethatching coincides with their natural growth cycles.
Warm-season varieties including Bermuda grass prefer late spring through early summer attention. Target this window after the second mowing when growth peaks. Spring early summer timing maximizes recovery potential.
Assessing Thatch Layer and Moisture Levels
Check your thatch layer by digging a small soil sample. Measure the dead material between grass blades and soil surface. Anything exceeding ¾ inch indicates need for action.
Ideal conditions include moderately moist soil from previous night rain. This loosens dead grass while minimizing root stress. A dry day for work followed by evening watering supports recovery.
Frequency varies by grass type. Cool-season grasses benefit from annual treatment, while warm-season types need maximum once per year. Proper timing prevents months of recovery time.
Maintaining Lawn Health After Dethatching
Your lawn’s recovery journey begins the moment you finish dethatching. Proper care now ensures vigorous growth and long-term vitality. This phase focuses on providing essential nutrients and creating ideal conditions for healing.
Fertilizer, Watering, and Overseeding Strategies
Apply a gentle starter fertilizer to deliver crucial nutrients to stressed grass roots. Expert opinions vary on timing—some recommend immediate application, while others advise a two-week wait.
Water your lawn thoroughly for at least 20 minutes right after the process. This deep watering nourishes roots and supports recovery. Continue this hydration every 2-3 days for the next two weeks.
Overseed any bare spots with seed matching your specific grass type. This fills gaps and promotes a uniform, lush surface. Consistent moisture is key for successful seed germination.
Ongoing Lawn Care and Aeration Tips
Core aeration complements dethatching by addressing soil compaction. This process pulls small plugs from the ground, allowing air, water, and nutrients to penetrate deeply.
Test for compaction by trying to insert a screwdriver into the soil. Difficulty indicates a need to aerate your lawn. This practice is vital for root health and nutrient absorption.
| Lawn Condition | Recommended Action | Key Benefit |
|---|---|---|
| Heavy clay soil / High traffic | Aerate annually | Prevents compaction, improves air flow |
| Sandy soil / Low traffic | Aerate every 2-3 years | Maintains soil structure |
| Post-dethatching recovery | Water deeply and consistently | Supports new growth and root development |
Leave the soil plugs on your lawn to break down naturally. They return valuable organic matter to the earth. Water the area with about 1 inch of moisture the day before you aerate to soften the ground.
Conclusion
The journey to a lush green lawn culminates with proper dethatching practices and seasonal care. Always cut your grass to the recommended height—about 1.5 inches for cool-season types and ¾ inch for warm-season varieties. This preparation ensures the equipment reaches the thatch layer effectively.
Timing matters significantly for your dethatch lawn efforts. Cool-season grass benefits from treatment in early spring or fall, while warm-season types prefer late spring or early summer. This seasonal approach aligns with each grass type‘s peak growth period.
Renting a power dethatching machine saves considerable time and effort compared to manual raking. Following the complete process—from preparation through recovery—ensures your lawn receives optimal air, water, and nutrients throughout the year.
By implementing these guidelines, you can restore your turf’s health and achieve the vibrant results you desire.
FAQ
What is the best time of year to dethatch my lawn?
The ideal timing depends on your grass type. For cool-season grasses like Kentucky Bluegrass, late spring or early fall is best. For warm-season grasses like Bermuda, late spring or early summer is optimal. This timing aligns with peak growth periods, helping your lawn recover quickly.
How do I know if my lawn has a thick thatch layer that needs dethatching?
Check by removing a small plug of grass and soil. If the layer of dead grass and roots between the green blades and the soil surface is over half an inch thick, it’s time to dethatch. A thick thatch layer blocks water, air, and nutrients from reaching the roots.
Should I mow the lawn before using a dethatcher?
Yes, mowing your lawn to a shorter height before dethatching is highly recommended. This practice allows the dethatcher’s blades or tines to make better contact with the soil surface, effectively removing more of the thick thatch layer and dead grass.
What is the difference between dethatching and aeration?
Dethatching removes the layer of dead organic matter on the soil surface. Aeration involves pulling small plugs of soil out of the ground to alleviate compaction. Both are vital for lawn health, improving air, water, and nutrient flow to the grass roots. You can perform them in the same season.
What should I do with my lawn after dethatching?
After dethatching, your lawn needs recovery care. Thoroughly water the area to help with root growth. This is also an excellent time to apply fertilizer and overseed to fill in any bare spots, promoting a thicker, healthier lawn for the coming season.
Can I dethatch a wet lawn?
It’s best to dethatch when the soil is slightly moist, but not soggy. A very wet lawn can clog the dethatcher and tear grass roots instead of lifting thatch. Aim for a day or two after a good rain or a light watering for the best results.