Have you ever considered that the simple act of filling your equipment with fluid could be the most critical maintenance task you perform all season? Proper lubrication is the lifeblood of your machine’s power plant, directly influencing its performance and durability.
Getting the quantity right is not just a suggestion—it’s a requirement for engine health. Too little lubrication leads to excessive friction and heat, while an overfilled system can cause serious operational issues. Your equipment’s longevity depends on this balance.
This guide provides clear, actionable advice. You will learn about different engine types and their specific needs. We cover checking procedures and maintenance schedules to keep your machine running smoothly for years.
Understanding these fundamentals protects your investment. Consistent, correct care ensures reliable operation every time you need to tackle your yard work. Let’s explore the key steps to optimal equipment performance.
Key Takeaways
- Correct fluid levels are essential for engine performance and longevity.
- Regular maintenance is crucial for efficient operation during the mowing season.
- The required amount depends on engine type, equipment style, and manufacturer specs.
- Incorrect levels can cause engine damage, expensive repairs, and reduced performance.
- Proper care extends the lifespan of your equipment and ensures consistent results.
- This guide explains the differences between walk-behind and riding machine requirements.
Understanding Your Lawn Mower’s Oil Requirements
Proper engine maintenance starts with knowing exactly what your machine needs for optimal performance. Different equipment types have specific lubrication requirements that affect their longevity and efficiency.
Factors Affecting Oil Capacity and Type
Your equipment’s design determines its fluid capacity. Walk-behind models typically need 15 or 18 ounces, while riding versions require 48 to 64 ounces. Always check your owner’s manual for precise specifications.
Small engines demand specific lubricants designed for their unique operation. You should select high-quality detergent oil classified as “For Service SF, SG, SH, SJ” or higher. Avoid automotive multi-weight oils that can cause premature wear.
Temperature and Climate Considerations
Operating temperatures significantly influence your lubricant choice. SAE 30 works well in warmer climates above 40°F, while SAE 10W-30 handles varying temperature ranges better.
For cold weather starting, Synthetic SAE 5W-30 offers superior protection across all temperatures. Below 40°F, SAE 30 causes hard starting. Above 80°F, 10W-30 may increase consumption.
Commercial operations often benefit from Vanguard 15W-50 for continuous use across changing conditions. Matching your lubricant to local climate ensures reliable equipment performance.
How Much Oil to Put in Lawn Mower: Essential Guidelines
Mastering the art of proper fluid management ensures your cutting equipment operates smoothly season after season. Accurate measurement prevents engine damage and maintains optimal performance.
Determining the Correct Oil Level
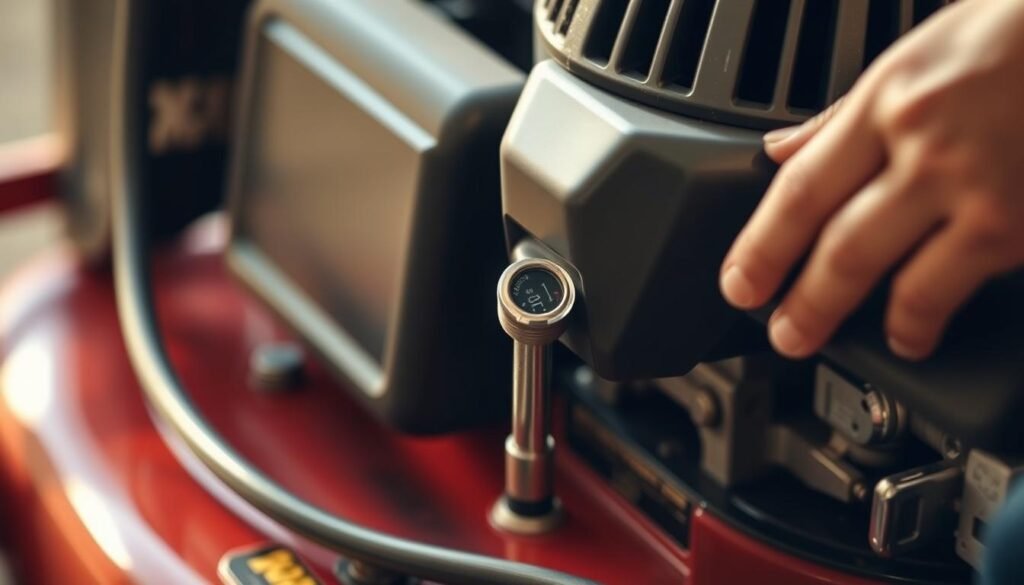
Your dipstick provides the most reliable method for assessing fluid levels. Always position your equipment on flat ground before checking.
Remove the dipstick cap and wipe the blade clean with a rag. Reinsert it fully, then withdraw it to view the actual oil level. The markings indicate the safe operating range.
Proper cap alignment is crucial for accurate readings. Ensure the teeth match the tube grooves before securing the dipstick. This prevents false measurements.
| Oil Level Condition | Dipstick Reading | Recommended Action |
|---|---|---|
| Optimal | Between Full and Add marks | No action needed |
| Low | Below Add mark | Add small amounts gradually |
| Overfilled | Above Full mark | Drain excess fluid |
| Contaminated | Black or dirty appearance | Complete fluid change required |
When adding fluid, pour a few ounces at a time. Allow it to settle before rechecking the oil level. This prevents overfilling your lawn mower engine.
Amber-colored fluid indicates good condition. Dark or dirty appearance signals the need for replacement. Most walk-behind models require approximately 20 ounces for proper lubrication.
Preparing for an Oil Change
Before diving into the actual service work, proper setup ensures a smooth and efficient process. Having everything organized prevents interruptions and messy spills during maintenance.
Gathering the Necessary Tools and Materials
Start by collecting all essential items for your maintenance task. You need fresh mower oil, preferably SAE 30 for small engines. An oil pan for collecting used fluid is crucial.
Safety equipment protects you during the procedure. Thick work gloves and safety glasses are non-negotiable. For riding models, locate an oil filter wrench and replacement filter.
- Position your equipment on level ground after the engine cools completely
- Use an oil-absorbent mat to protect your workspace from stains
- Seal the gas tank on push mowers by covering the opening with plastic under the cap
- Have your dipstick ready for checking levels after refilling
- Keep a container like a milk jug for proper used oil disposal
Identify all relevant parts before starting. Know the location of the oil fill cap, drain plug, and filter. This preparation streamlines your entire oil change process.
Step-by-Step Process for Changing Your Lawn Mower Oil
Executing a proper oil replacement procedure requires careful attention to safety and precise steps. Following the correct sequence ensures complete fluid removal and proper lubrication for your equipment.
Safety Precautions and Preparing the Mower
Begin by starting your equipment and letting it run for 15 minutes. This warms the fluid for easier drainage. Always disconnect the spark plug wire before beginning work.
Safety glasses and gloves provide essential protection during this maintenance task. Position your machine on level ground after the engine cools slightly.
Detailed Instructions for Draining and Refilling Oil
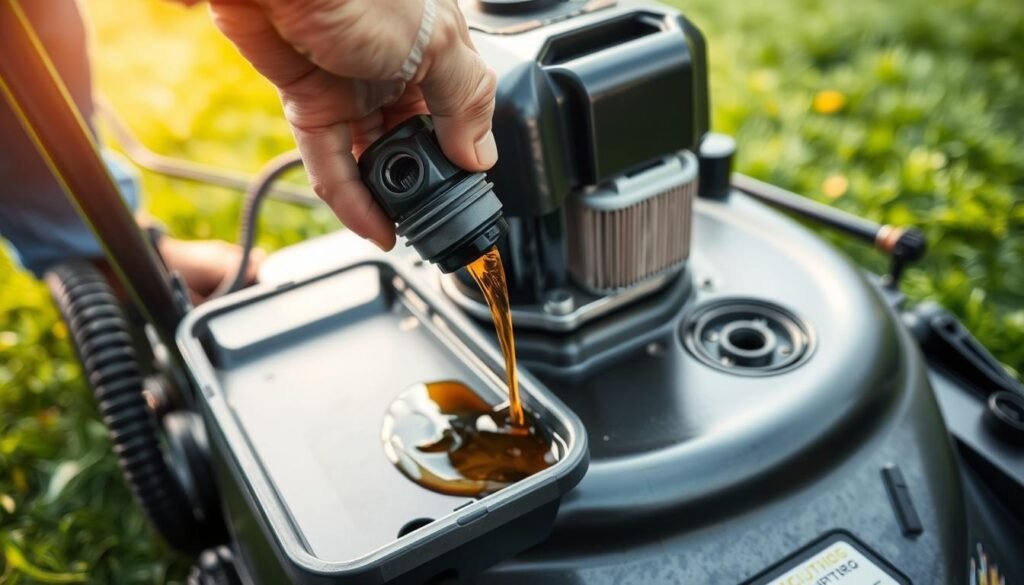
Locate the oil fill cap on your engine, typically marked with identification. Firmly grip and turn counterclockwise to loosen the cap. Carefully lift it straight up.
For push models, tilt the equipment with the oil side downward. Drain the used fluid completely into a collection pan. Wait several minutes for total drainage.
Alternative method: Unscrew the drain plug on the engine bottom if available. Allow complete drainage before replacing the plug securely.
| Step | Action | Purpose |
|---|---|---|
| Preparation | Warm engine, disconnect spark plug | Safety and efficient drainage |
| Draining | Tilt mower or use drain plug | Remove old, contaminated fluid |
| Refilling | Pour fresh oil slowly with funnel | Prevent overfilling and spills |
| Verification | Check level with dipstick | Ensure proper lubrication amount |
Return the equipment to upright position. Pour fresh lubricant slowly into the fill tube using a funnel. Add small amounts gradually to prevent overfilling.
Use the dipstick to verify the fluid level falls within the approved range. Insert and remove the dipstick multiple times for accurate reading. Secure the cap firmly when finished.
For riding models, consult your owner’s manual for specific part locations. The general process remains consistent across equipment types.
Special Considerations for Different Types of Mowers
Your equipment’s design directly impacts its maintenance needs. Walk-behind and riding models have distinct requirements that affect your care routine.
Understanding these differences ensures proper care for your specific machine. The variations go beyond simple size differences.
Capacity and Service Interval Variations
Walk-behind models typically hold 15 to 18 ounces of lubricant. Riding equipment requires 48 to 64 ounces for proper operation.
This significant capacity difference affects service schedules. Smaller engines need attention every 50 hours or annually.
Larger systems can operate for 100 hours between services. The increased reservoir allows for extended use periods.
New equipment requires special break-in attention. Change the lubricant after the first five hours of operation.
This initial service removes manufacturing residues. It protects your investment during the critical break-in phase.
Accessibility also varies between models. Riding mowers often feature convenient drain plugs.
Walk-behind units may require careful tipping for fluid changes. Always consult your owner’s manual for specific guidance.
Additional Lawn Mower Maintenance Tips
Beyond proper lubrication, comprehensive equipment care involves several critical maintenance practices. Establishing consistent routines ensures your machine operates reliably throughout the cutting season.
Regular Oil Level Checks and Maintenance Routine
Your maintenance schedule should include frequent fluid inspections. Check levels before each use during active seasons.
Change lubricant every 25-50 hours of operation for optimal performance. If you don’t track run time, service at each season’s start.
Watch for warning signs like dark, gritty fluid or unusual engine noises. These indicate immediate service needs regardless of hours.
Maintain a detailed journal recording service dates and performance observations. This helps identify patterns and prevent future issues.
Other Essential Upkeep Practices
Sharp blades are crucial for clean cuts. Balance and sharpen them two or three times annually.
Replace fuel filters each season to prevent debris from entering small engines. Keep gas containers sealed and clean.
Service air cleaners by replacing paper elements and washing sponge pre-filters. Clean the deck regularly, especially after wet grass cutting.
Inspect drive belts annually for wear or fraying. Most machines have two belts requiring attention.
Integrate fluid changes into your winter preparation or spring startup routine. Always consult your owner manual for specific guidance.
Conclusion
Your journey toward reliable equipment performance concludes with mastering these essential maintenance practices. You now possess the knowledge to ensure your machine’s longevity and efficiency.
Proper fluid management is the cornerstone of engine health. Regular checks with the dipstick and timely changes prevent costly damage. Your commitment to this routine pays dividends.
Whether you maintain a riding or walk-behind model, the principles are consistent. Always consult your owner manual for specific capacities and intervals suited to your engine type and local temperatures.
This investment of time safeguards your equipment. You will enjoy a well-kept lawn and dependable operation for many seasons. Your proactive care is the key to lasting performance.
FAQ
How often should I check the oil level in my mower engine?
You should check the oil level every time before you start your equipment. Make it a habit to inspect the dipstick for a proper reading. This simple check takes just a moment and helps prevent engine damage.
What type of oil should I use for my lawn mower?
Most small engines use SAE 30 motor oil. For riding mowers, a detergent oil labeled for service SJ or higher is often recommended. Always consult your owner’s manual for the specific type required for your model, especially in extreme temperatures.
How do I know when it’s time for an oil change?
A good rule is to change the oil every 50 hours of run time or at least once per mowing season. If you use your equipment heavily, consider changing it more frequently, around every 25 hours, to ensure optimal performance.
What is the correct procedure for checking the oil level?
First, ensure your mower is on a level surface. Remove the dipstick, wipe it clean, and then reinsert it fully without screwing it in. Pull it out again to see where the oil film reaches. It should be between the “Full” and “Add” marks on the dipstick.
Are there differences in maintenance between riding mowers and walk-behind mowers?
Yes. Riding mowers typically have larger engines and hold more oil, often around 48 to 64 ounces. Walk-behind models usually require less, commonly 15 to 20 ounces. The maintenance schedule for riding mowers might also be more frequent due to their larger size and workload.
What are some other essential upkeep practices for my equipment?
Beyond regular oil changes, you should also replace the air filter, sharpen the blade, and use fresh gas. Keeping the underside of the deck clean and checking the spark plug are also vital parts of a good maintenance routine for your machine.